
Latest Version
2.1
February 11, 2025
Fuzhou Super Fantasy Technology Co., Ltd
Games
iOS
275.5 MB
0
Free
Report a Problem
More About Soap Maker
Unlock Your Creativity: The Ultimate Guide to Soap Making
Are you ready to dive into the fascinating world of soap making? Crafting your own bar of soap is not only a rewarding experience but also a fantastic way to express your creativity. With the right techniques and a little imagination, you can create stunning soaps that are as beautiful as they are functional. In this guide, we will explore the art of soap making, from layering colors to adding unique garnishes, ensuring you have all the tools you need to succeed.
Why Make Your Own Soap?
Making your own soap offers numerous benefits. Not only can you customize the ingredients to suit your skin type, but you also have the freedom to experiment with colors, scents, and textures. Here are a few reasons why soap making is a worthwhile endeavor:
- Customization: Tailor your soap to meet your specific needs, whether you prefer natural ingredients or specific fragrances.
- Creativity: Unleash your artistic side by mixing colors and designs, creating unique pieces that reflect your personality.
- Cost-Effective: Save money in the long run by making your own soap instead of purchasing commercial products.
- Gift Potential: Handmade soaps make thoughtful gifts for friends and family, showcasing your creativity and effort.
Getting Started with Soap Making
Before you begin your soap-making journey, gather the necessary supplies. Here’s a list of essential items you’ll need:
- Soap base (glycerin, shea butter, or coconut oil)
- Colorants (soap dyes or natural colorants)
- Fragrance oils or essential oils
- Soap molds (silicone molds work best)
- Mixing tools (spatula, measuring cups, and a microwave-safe container)
- Garnishes (dried flowers, herbs, or exfoliants)
Step-by-Step Soap Making Process
Now that you have your supplies ready, let’s walk through the soap-making process:
1. Melting the Soap Base
Start by cutting your soap base into small cubes for even melting. Place the cubes in a microwave-safe container and heat them in short intervals, stirring in between, until fully melted. Be cautious not to overheat, as this can affect the quality of your soap.
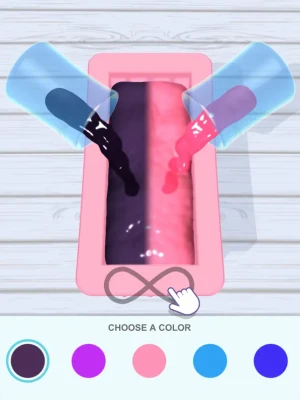
2. Adding Color and Fragrance
Once your soap base is melted, it’s time to add color and fragrance. Incorporate your chosen colorants gradually, mixing until you achieve the desired shade. Next, add fragrance oils or essential oils, stirring well to ensure an even distribution. This is where you can let your creativity shine!
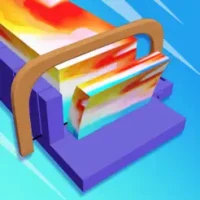
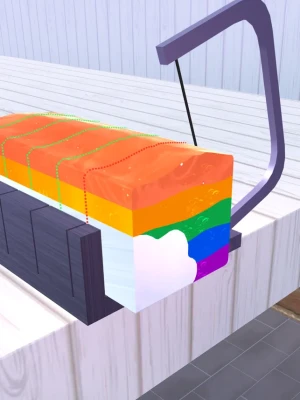
3. Layering and Mixing
If you want to create layered soaps, pour a small amount of the colored soap into your mold and let it set for a few minutes. Once it’s slightly hardened, pour another layer of a different color on top. Repeat this process until your mold is filled. For a marbled effect, swirl different colors together before pouring.
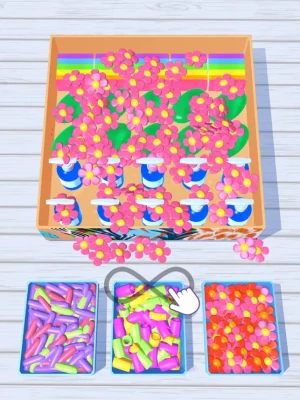
4. Adding Garnishes
Enhance the visual appeal of your soap by adding garnishes. Sprinkle dried flowers, herbs, or exfoliants on top of the soap before it fully sets. This not only adds beauty but also provides texture and exfoliation benefits.
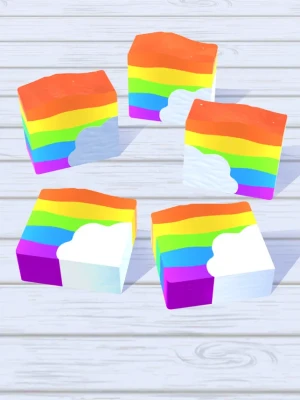
5. Setting the Soap
Allow your soap to cool and set completely. This usually takes a few hours, but for best results, let it sit overnight. Once hardened, gently remove the soap from the mold.
Enjoying Your Creation
After successfully making your soap, take a moment to appreciate your handiwork. The satisfaction of creating something beautiful and functional is unmatched. You can use your soap, gift it to loved ones, or even sell it at local markets. The possibilities are endless!
Tips for Successful Soap Making
To ensure your soap-making experience is enjoyable and successful, consider the following tips:
- Experiment: Don’t be afraid to try new color combinations and fragrances. Each batch can be a new adventure!
- Keep it Clean: Maintain a clean workspace to avoid contamination and ensure the best results.
- Document Your Process: Take notes on your recipes and techniques to replicate your favorite creations in the future.
- Stay Patient: Allow your soap to set completely before removing it from the mold for the best results.
Conclusion
Soap making is a delightful and fulfilling hobby that allows you to express your creativity while producing beautiful, functional products. By following the steps outlined in this guide, you can create stunning soaps that not only look great but also provide a luxurious experience. So gather your supplies, unleash your imagination, and start crafting your own unique bars of soap today!
Rate the App
User Reviews


Popular Apps


Editor's Choice