



Latest Version
July 06, 2026
Womanoka
Education
Android
0
Free
com.womanoka.origfly
Report a Problem
More About Origami Flying Paper Airplanes
Master the Art of Origami: Create Your Own Flying Paper Planes
If you're eager to learn how to craft an origami flying paper plane, you've come to the right place. This guide provides detailed, step-by-step instructions for creating various models of flying paper airplanes using the intricate art of origami folding.
Why Origami? The Benefits of This Beautiful Hobby
Origami is not just a pastime; it’s a captivating hobby that enhances spatial awareness, imagination, logic, fine motor skills, and memory. Among the many fascinating aspects of origami, designing paper airplanes without the use of glue stands out. This approach challenges you to consider both the aesthetic form and the practical aspects that influence flight performance.
Explore Unique Paper Gliders
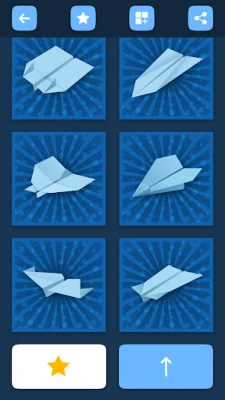
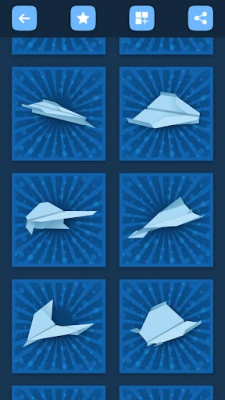
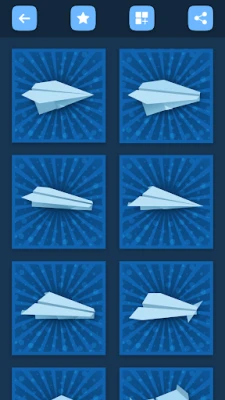
In this guide, we’ve compiled a collection of unique paper gliders that you may not have encountered before. Some of these designs are original creations, never published elsewhere. If you want your paper airplanes to soar further and longer, follow these essential tips:
Essential Tips for Crafting High-Performance Origami Planes
- Choose the Right Paper: Use thin paper for optimal results. This allows for sharper folds and better aerodynamics.
- Color or Plain: You can opt for colorful paper or classic white. Both options can yield stunning results.
- Precision in Folds: Strive for accuracy in your folds. The more precise your bends, the better your plane will perform.
- Wing Design: Shape the wings so that the back resembles the letter “Y.” This slight upward angle enhances flight stability.
- Add Flaps: Incorporate flaps to help guide your plane in the desired direction during flight.
Step-by-Step Instructions for Your First Origami Flying Plane
Ready to get started? Follow these simple steps to create your first origami flying paper plane:
- Start with a Square Sheet: Begin with a square piece of paper. If you’re using rectangular paper, fold it into a square and cut off the excess.
- Fold Diagonally: Fold the paper diagonally in half to form a triangle, then unfold it to reveal a crease.
- Fold the Corners: Take the top corners of the triangle and fold them down to meet the bottom point, forming a smaller triangle.
- Create the Wings: Fold the sides of the triangle outward to create wings. Ensure they are symmetrical for balanced flight.
- Adjust the Wings: Bend the wings slightly upward to form the “Y” shape, enhancing lift.
- Test Flight: Hold the plane at the bottom and give it a gentle toss. Adjust the wings or flaps as needed for optimal flight.
Share the Joy of Origami with Friends
We hope this guide inspires you to explore the world of origami and create your own flying paper planes. Share your designs with friends and organize friendly competitions to see whose plane can fly the farthest. This activity promises to bring joy and excitement to everyone involved.
Welcome to the World of Origami!
Embark on this creative journey and enjoy the thrill of watching your paper planes take flight. With practice and patience, you’ll master the art of origami and discover endless possibilities. Happy folding!
Note: All images and unique designs featured in this guide are protected by copyright. Respect the creativity and originality of these works.
Rate the App
User Reviews














Popular Apps










Editor's Choice