Latest Version
36.0.7
December 30, 2024
Global Gleam Enterprise
Education
Android
0
Free
com.origamininjastar.ggenterprise
Report a Problem
More About Make Origami Paper Ninja Star
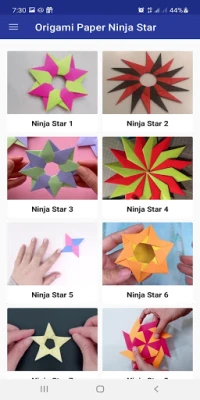
Master the Art of Origami: Create Your Own Ninja Star
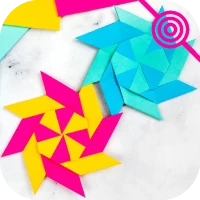
Origami, the ancient Japanese art of paper folding, offers a delightful way to express creativity and enhance fine motor skills. One of the most exciting projects you can undertake is crafting an origami ninja star, also known as a Shuriken. This guide will provide you with easy-to-follow instructions to create stunning origami ninja stars that can serve as decorations, jewelry, or even toys. Let’s dive into the world of origami and learn how to make your very own ninja star!
What is an Origami Ninja Star?
The origami ninja star, or Shuriken, is a traditional paper craft that resembles the iconic weapon used by ninjas. The term "Shuriken" translates to "sword hidden in the user's hand" in Japanese, highlighting its stealthy nature. When crafted from paper, these stars can vary in size depending on the dimensions of the paper used. For instance, a three-inch square paper will yield a star measuring approximately 1.8 inches from point to point, while a six-inch square will produce a star about 3.4 inches across.
Why Choose Origami for Kids?
Origami is an excellent activity for children and beginners alike. It not only fosters creativity but also enhances concentration and patience. Engaging in origami projects, especially during holidays or family gatherings, can be a fun and educational experience. Kids will enjoy the process of folding paper into various shapes, and the satisfaction of completing a project will boost their confidence.
Materials Needed for Your Origami Ninja Star
Before you start folding, gather the following materials:
- Two square sheets of paper (preferably colored for a vibrant look)
- Scissors (optional, for trimming paper)
- A flat surface to work on
Step-by-Step Instructions to Create an Origami Ninja Star
Follow these simple steps to craft your origami ninja star:
Step 1: Prepare Your Paper
Start with two square sheets of paper. You can choose any color or pattern that appeals to you. If you want a more intricate design, consider using patterned origami paper.
Step 2: Fold the Paper
1. Take the first square and fold it diagonally in half to form a triangle. Unfold it and repeat with the other diagonal.
2. Fold the corners of the triangle towards the center point, creating a smaller triangle.
3. Flip the paper over and fold the edges towards the center line, forming a kite shape.
4. Repeat these steps with the second square of paper.
Step 3: Assemble the Ninja Star
1. Take one folded piece and insert the points of the second piece into the pockets of the first piece. Ensure that the points are secure and the star holds its shape.
2. Adjust the folds as necessary to ensure the star is symmetrical and well-formed.
Step 4: Final Touches
Once assembled, you can add your personal touch by decorating the star with markers or stickers. Your origami ninja star is now ready to be displayed or played with!
Benefits of Making Origami Ninja Stars
Creating origami ninja stars is not just a fun activity; it also offers several benefits:
- Enhances Fine Motor Skills: The precise folding techniques improve dexterity and hand-eye coordination.
- Boosts Creativity: Experimenting with different colors and patterns encourages artistic expression.
- Promotes Patience and Focus: Following the steps requires concentration, helping children develop patience.
Application Features for Origami Enthusiasts
If you’re looking to enhance your origami skills further, consider using an application designed for origami enthusiasts. Here are some features you might find:
- Fast loading times for quick access to tutorials
- User-friendly interface for easy navigation
- Offline mode for crafting on the go
- Minimal storage requirements on your device
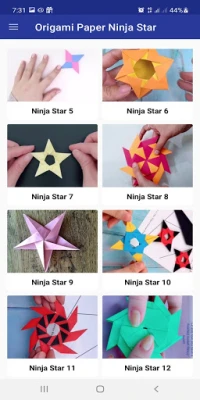
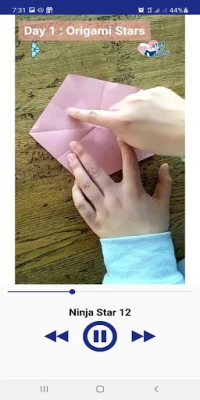
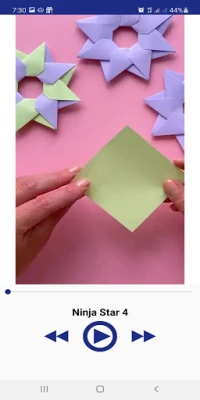
- Step-by-step video guides for visual learners
Conclusion: Unleash Your Creativity with Origami
Making an origami ninja star is a rewarding and enjoyable experience that can be shared with family and friends. Whether you’re a beginner or an experienced folder, this project is sure to bring joy and creativity into your life. So gather your materials, follow the steps, and let your imagination soar as you create beautiful origami stars!
Disclaimer
All images and content within this application are believed to be in the public domain. If you are the rightful owner of any images displayed and wish for them to be removed or credited, please contact us, and we will address your request promptly.
Rate the App
User Reviews
Popular Apps


Editor's Choice


